Jitsi Meet is our videocall and conference tool.
Next to our internal Jitsi Meet, we can also create a Jitsi Meet instance running for our community if demand returns. Users would then be able to sign up for an account so they can host meetings themselves.
See more information about Jitsi Meet (including privacy and GDPR information) in our tool management guide.
Community Jitsi Meet user guide
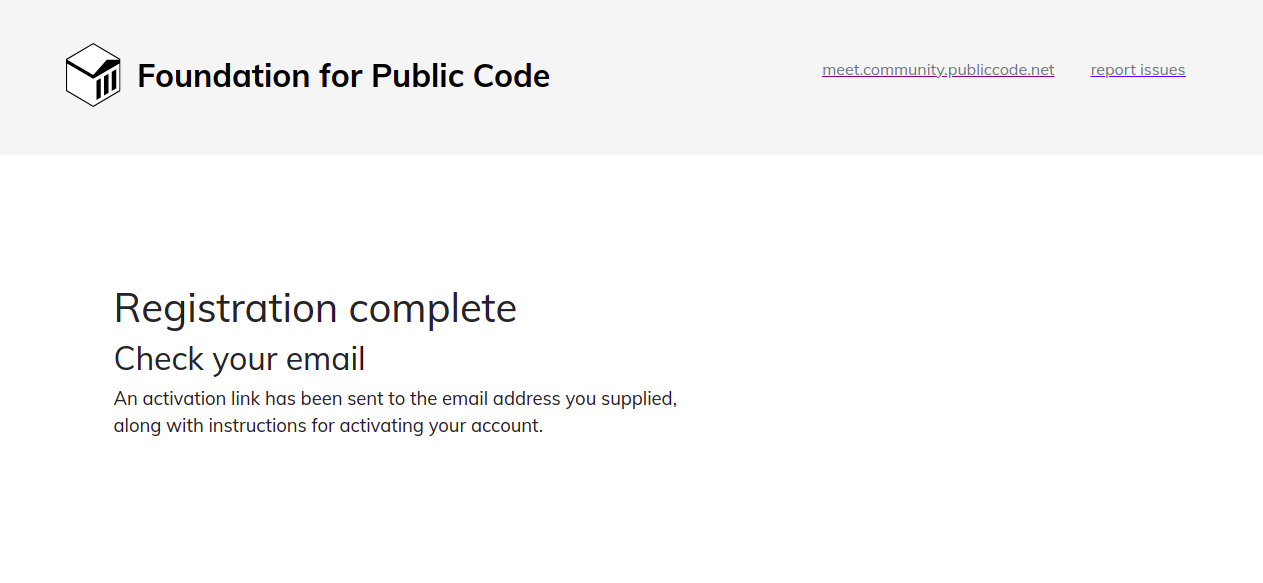
- A user signs up by filling out the registration form
- A confirmation mail is sent to the user.

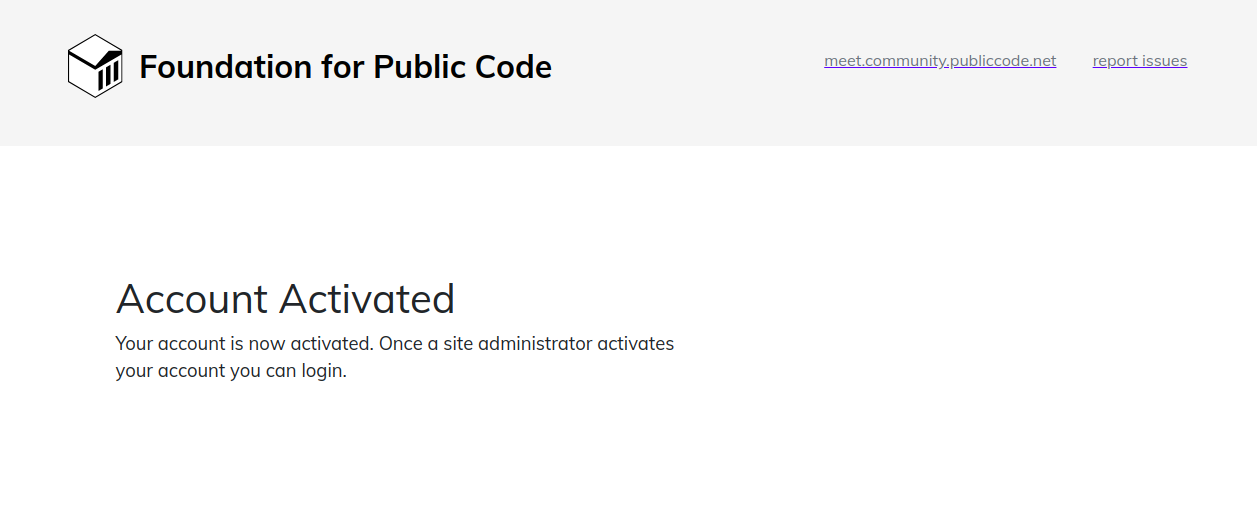
- The user confirms the account by following the link sent to the email address supplied during registration.

- An admin receives an email with a link that will approve the user registration.

- When the admin approves the request, the user receives an email informing them that they can now login.
- After that the user can start meetings using their newly set credentials.
Community Jitsi Meet admin guide
- After a user registered an account an admin receives an email requesting approval
- The email is sent to ‘meet-community-approval@publiccode.net’

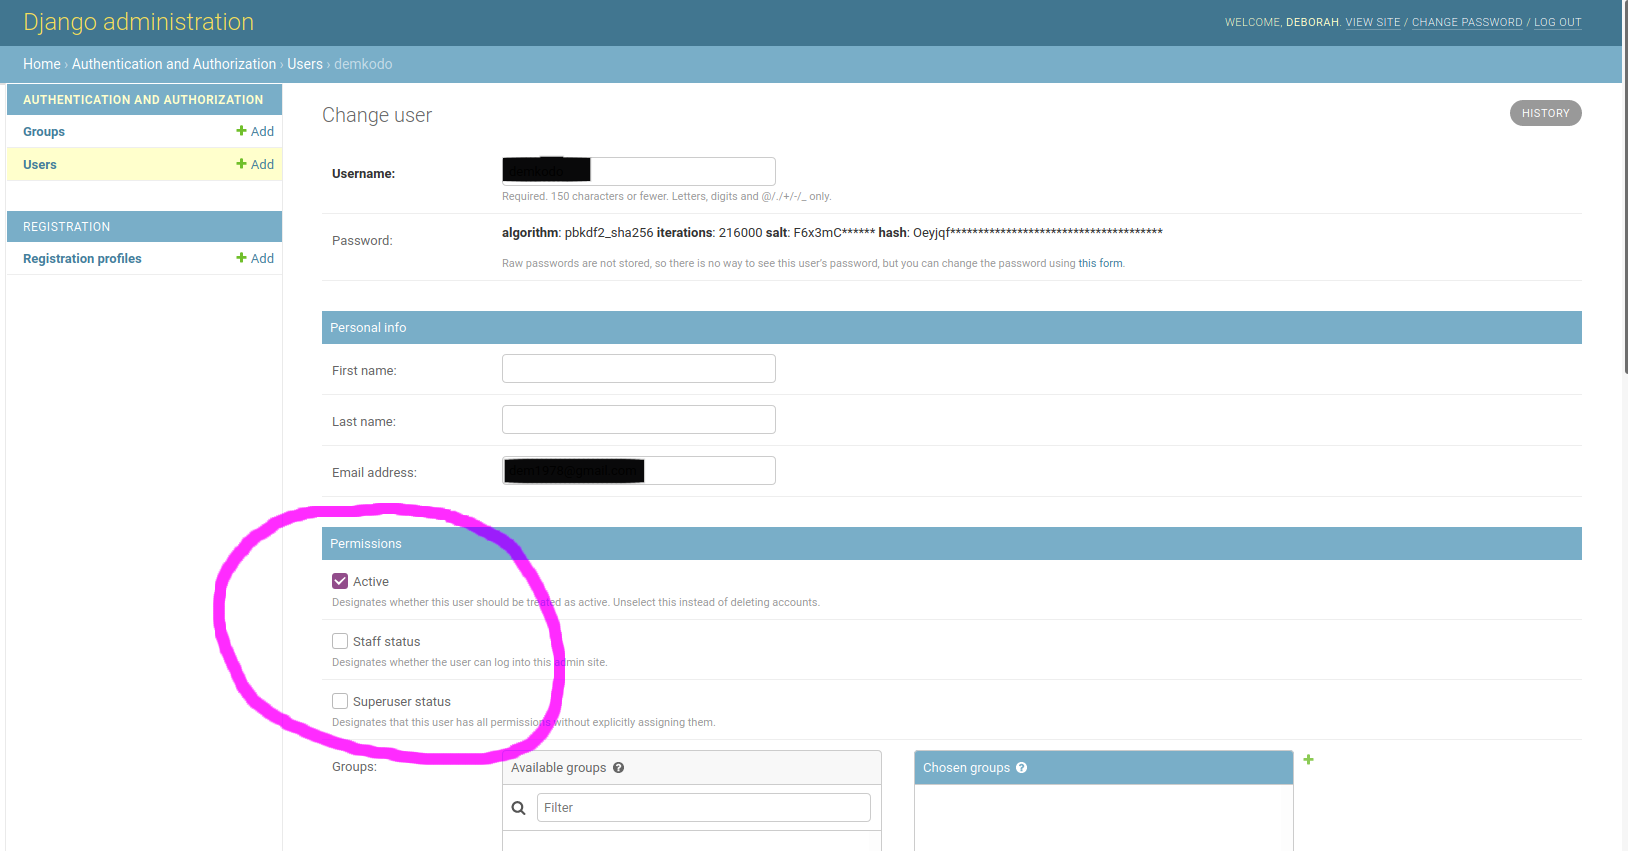
- The admin logs in to the Django registration interface

- The admin can approve and set permissions for the user
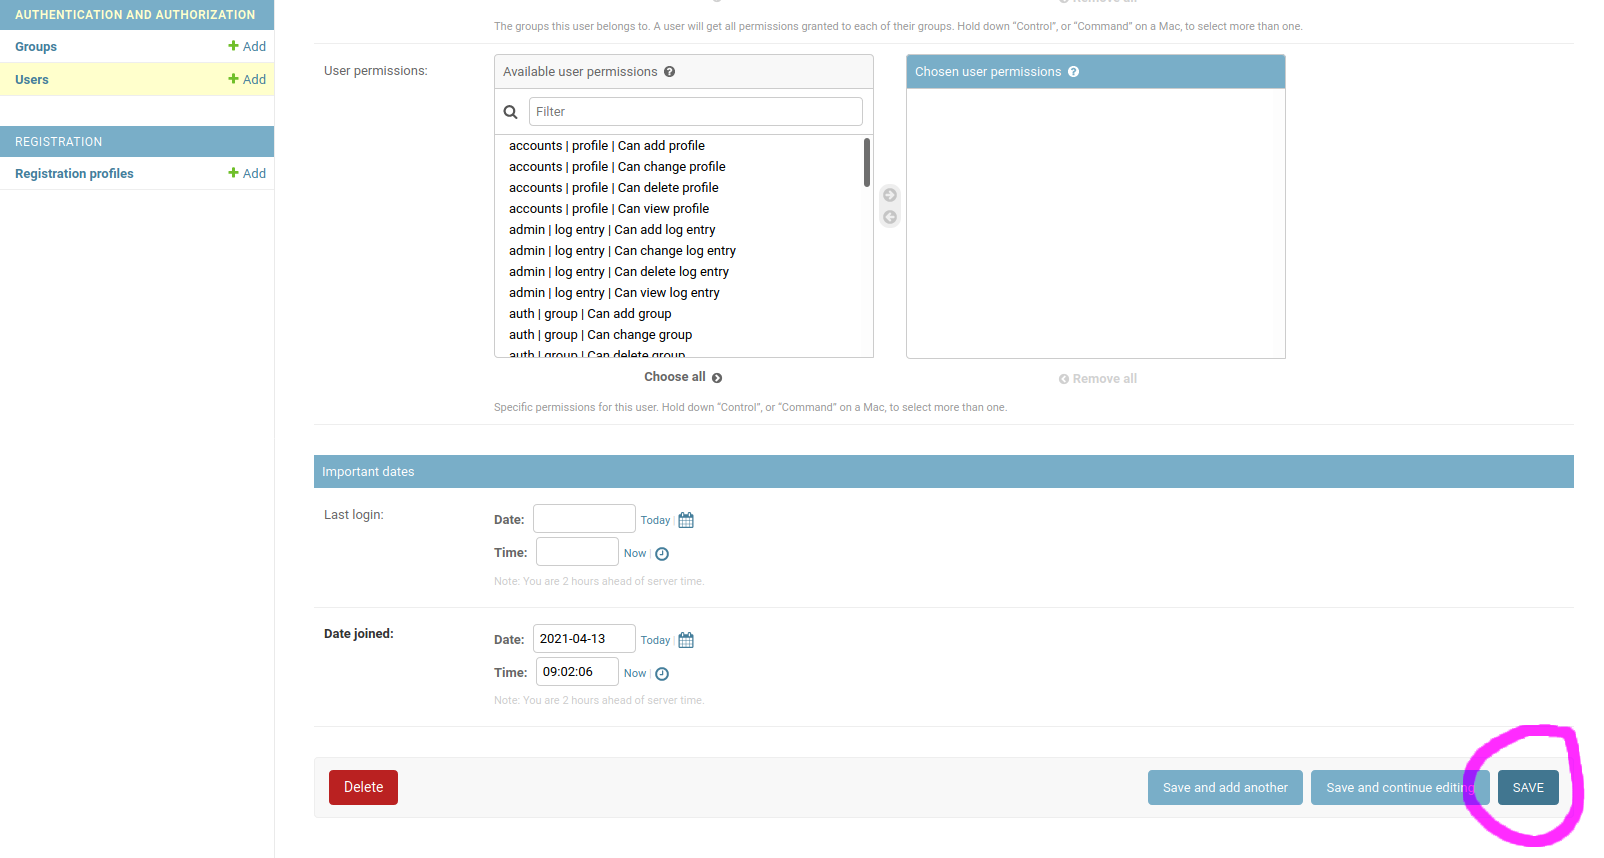
- For external users, “active” for staff “staff status” needs to be checked as well. The operations coordinator and chief executive have superuser status. Make sure to click ‘save’.
